Hold your breath ladies and gents, because this one’s just a little bit special, and a whole leap above your average brownie. I can’t take the credit for coming up with the idea (I forget where I saw the photo in the first place, some sort of social media platform…) but I will gladly take credit for baking and photographing them, and for informing you of them (if you haven’t already seen them, of course) and inspiring you to try them out, or even just eat them.

Ingredients:
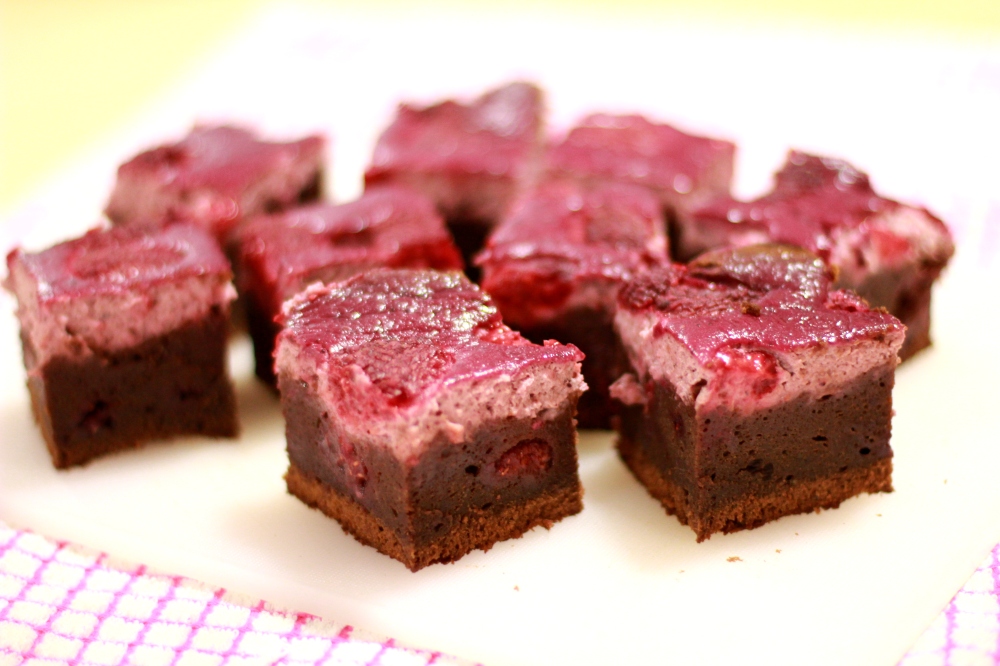
Cheesecake layer
- 250g cream cheese
- 50g caster sugar
- 1 egg
- 150g cooked-down raspberries
(I used frozen)
Optional: - fresh raspberries to decorate
- 2 tsp dried cranberry powder
(the raspberry layer was an excuse for me to use one of my Arctic Berry Powders)
Brownie layer
- 225g unsalted butter
- 250g dark chocolate
- 225g caster sugar
- 4 large eggs
(I used 5 medium) - 150g plain flour, sifted
Optional: - a few handfuls of frozen raspberries


Method:
(Makes approx 16)
- Preheat oven to 180C fan.
- Melt the butter and chocolate over a bain marie and stir until smooth.
- Take off the heat and, once cooled, stir in the sugar.
- Whisk your eggs and add that to the chocolate mixture.
- Fold in the flour until completely combined.
- This is the time to add any additional ingredients. I used frozen raspberries, but you could easily add any chopped nuts, dried fruit etc.
- To make the cheesecake layer, simply mix together all ingredients until smooth and combined.
- Pour the brownie batter into a lined tin of your choice (I didn’t have a tray-bake tin, hence why mine is in a cake tin) and level out to the edges. If you want, chill your batter for 10 minutes to minimise mixing of the 2 different mixtures to get those clean layers.
- Pour over the cheesecake mixture and level out to the edges. Sprinkle over some fresh raspberries if you want.
- Bake for approximately 40 minutes in the oven, until the batter is no longer ‘wobbly’ in the tin, and a skewer comes out almost clean.
Top tip: if your lovely pink top layer is starting to get a bit brown around the edges before the brownies have cooked, cover the whole thing with tin foil over the top and keep baking until done.
(PS – I’m completely guestimating the timings, since the oven here at uni is so awful that mine actually took 2 1/2 hrs to bake… -.- I was very unimpressed.) - Leave to cool in the tin for at least 15 minutes (I left mine for an hour), then slice into shapes of your choice. Et voilà, your brownies are done!


It looks beautiful!!! Thanks for this XOXO
LikeLike
Thank you for a kind comment 🙂 And you’re very welcome
LikeLiked by 1 person